A how to guide on how to guide.
Everything you need to know about contrast marking for floors, stairs, and glass: regulations, recommendations, design, and placement all in one place.
What does the legislation say about contrast marking?
The Planning and Building Act issued in 2010 clearly states: A building must be accessible and usable for people with reduced mobility or orientation ability. This applies to both new buildings and renovations – as well as to the development of new public spaces and areas.
What does this mean in practice?
According to Boverket’s regulations and general advice 2013:9, easily removable obstacles in and around premises accessible to the public, as well as in public areas, must be addressed. This can be done, among other ways, by marking level changes in stairs and glass surfaces with contrast markings.
Contrast marking – how it works.
Contrast marking: lightness contrast.
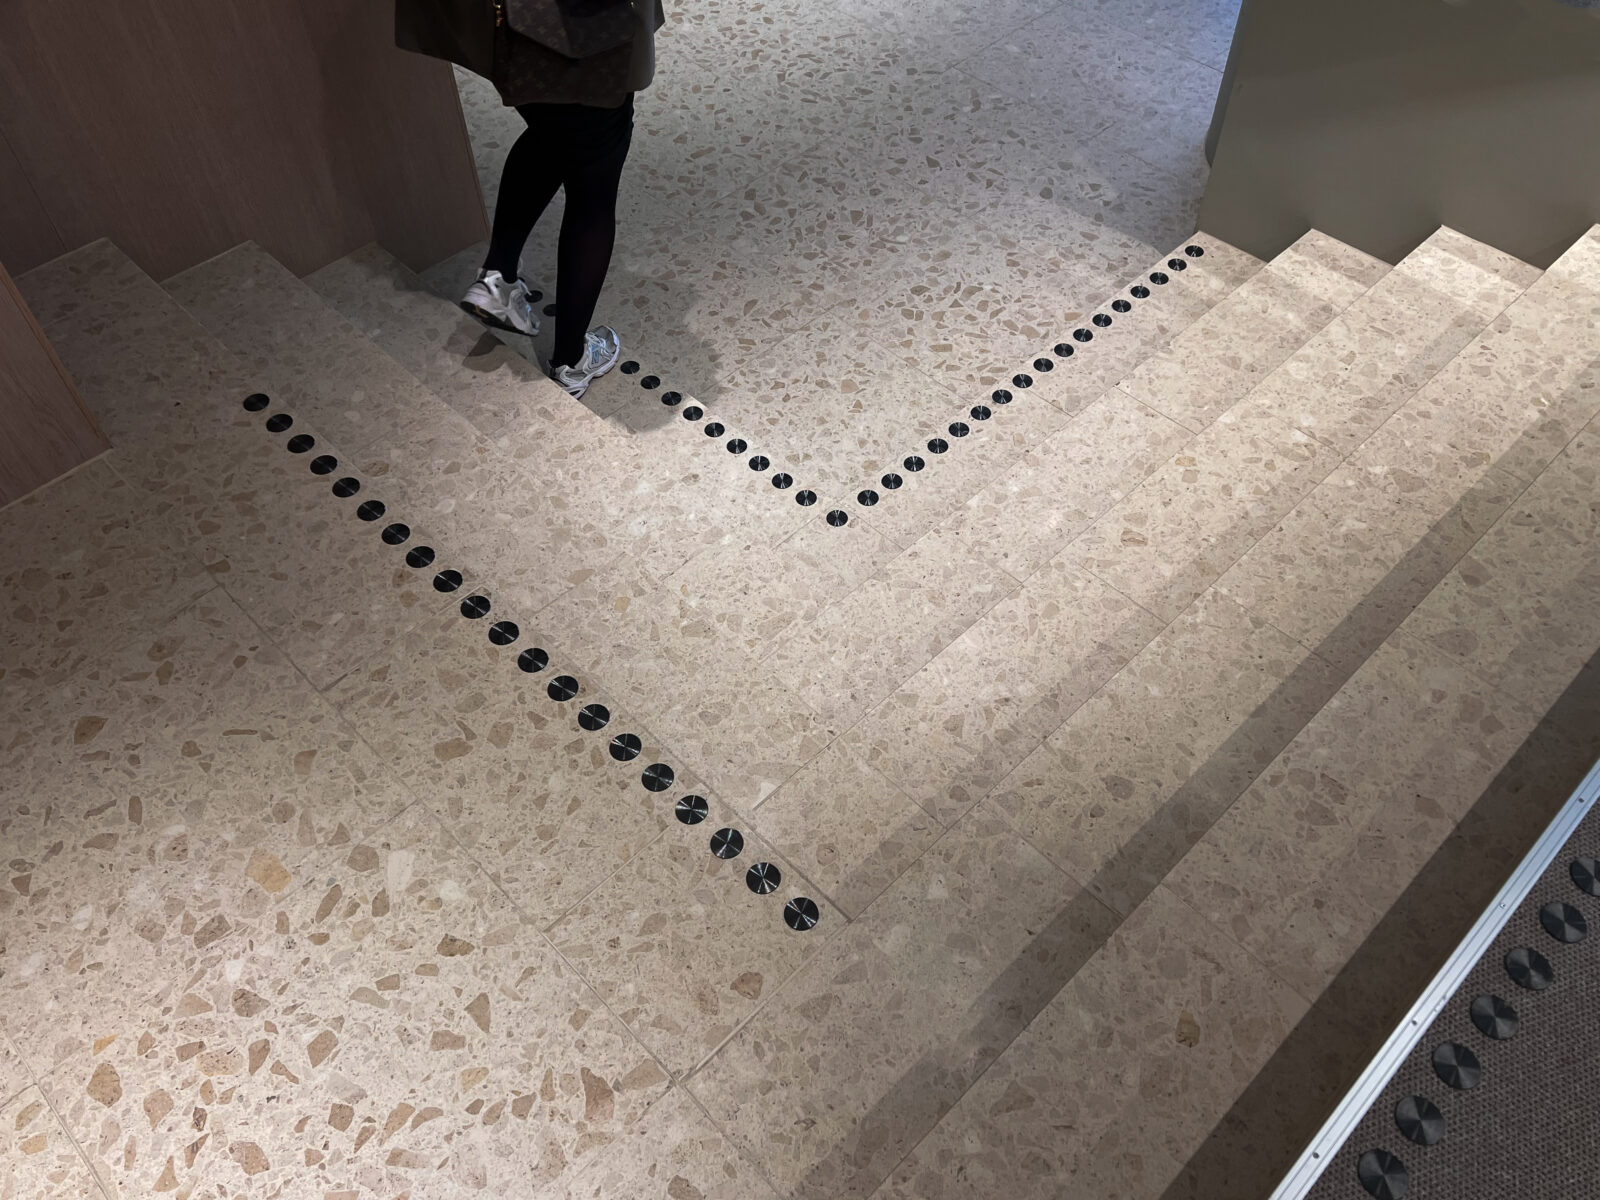
Contrast marking: stairs and level changes.

The benefits of contrast markings.
Contrast markings make a big difference to the indoor environment. Including them in the drawings from the start, and then developing a design that aligns with the overall concept, ensures a well-thought-out result at every stage. Let your creativity flow! Whatever your vision for your contrast markings, we are here to help make it a reality. We support you from start to finish, assisting with consultation, design, and installation – all to ensure you get exactly the contrast markings you want.
Contrast marking: doors, windows, and glass.

Contrast marking: design of glass markings.